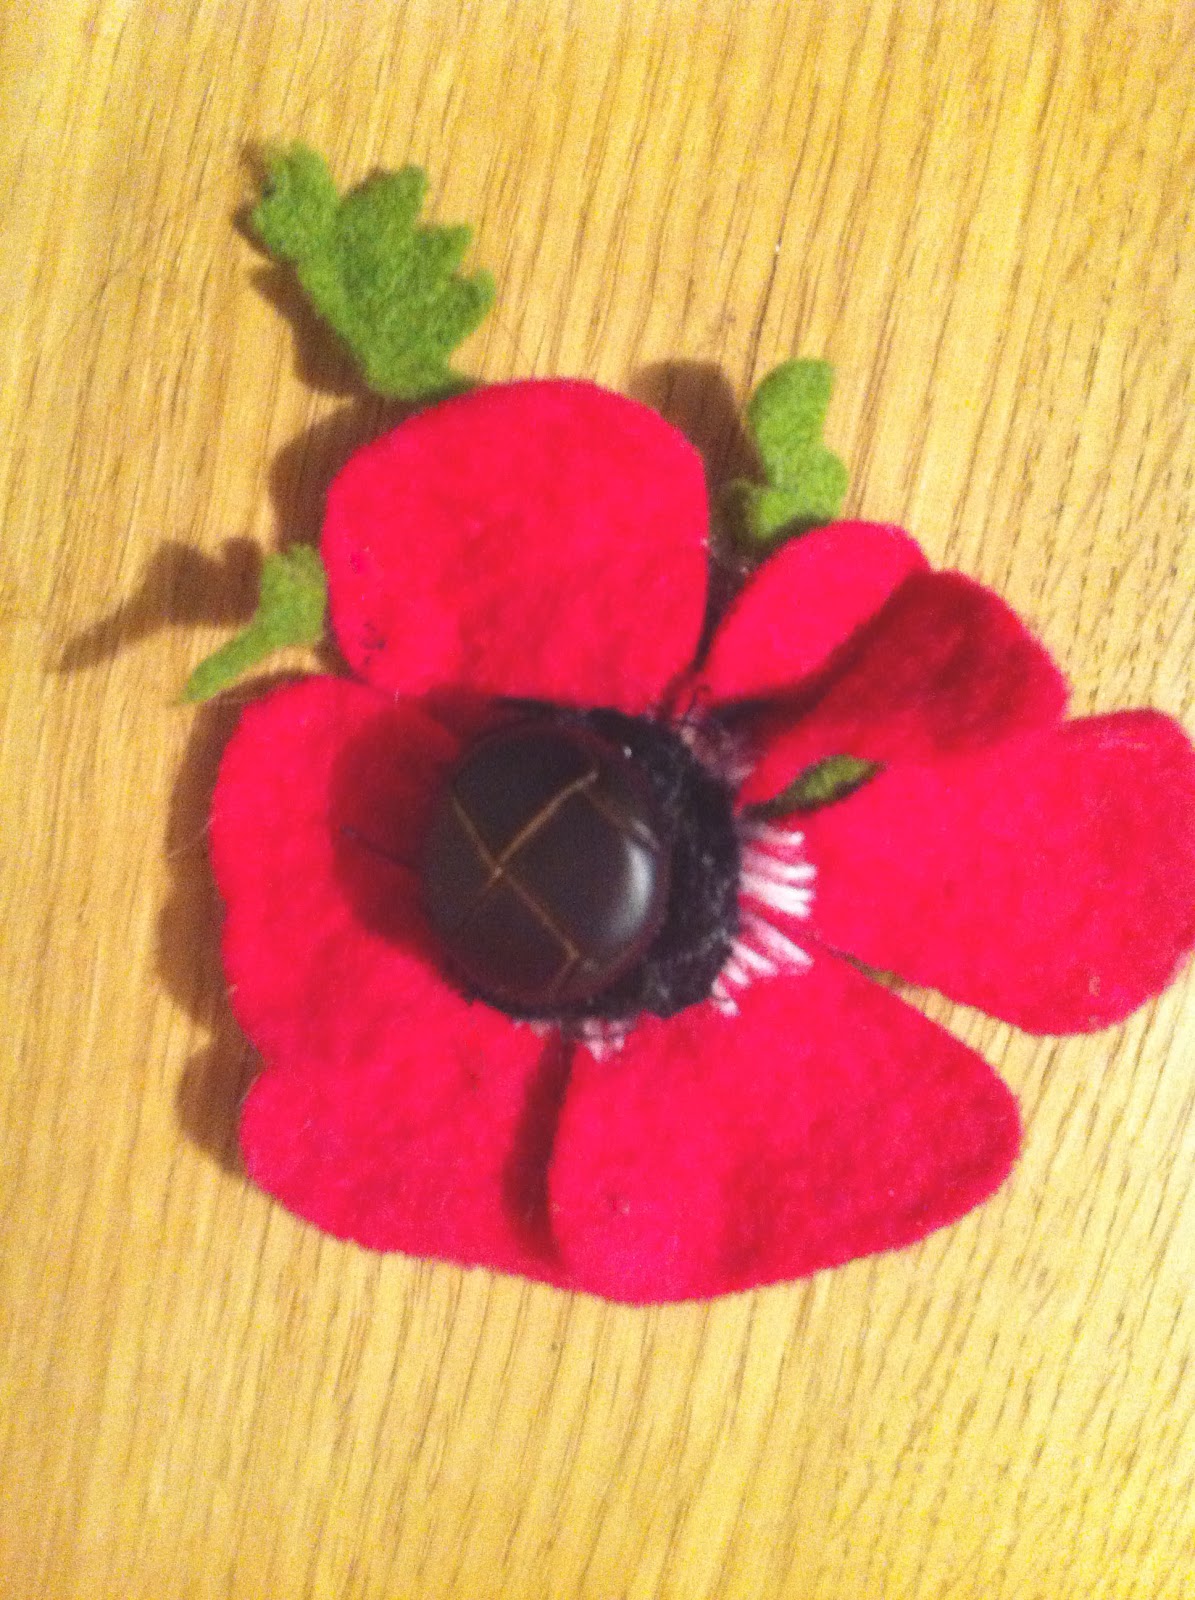
Anemones are one of my favourite flowers and, after staring at the couple that have come up in the garden, I was inspired to make this.
How to make a felt flower brooch
Cut petal shapes from red, pink, blue, white or purple felt. Stitch together in the middle, roughly, as your stitches will be covered by the button.
Sew some long white stitches from the centre outwards on each petal to represent the flower's white markings.
I had some fuzzy black trim, which I decided to use for the black anthers in the middle, but you could leave this out, or substitute black felt. If you're using it, sew it on.
Sew on a black or dark brown button.
Cut some crinkly-edged leaf shapes from green felt, and stitch to back of flower. Sew on a brooch pin.
Wear!
Thursday, 15 March 2012
Wednesday, 22 February 2012
Things I'd like to make...
This, of course, is a potentially endless list, but at the very front of my mind are the curled paper (or is that quilled paper?) rings that Kirstie Allsopp made on Kirstie's Handmade Britain (with original inspiration and practical help from Phiona Richards at Rare Notions. Haven't quite got round to it yet but I have bought the ring blanks (and couldn't resist making a big cocktail ring with a big glued-on silvery glass bead - the work of minutes, literally).
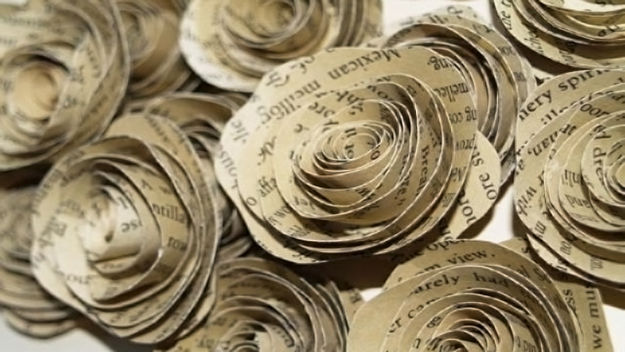
Here's how to make the paper rose ring above
Sunday, 5 February 2012
Shown up by the snow
I take no credit for this, obviously: the overnight snowfall has done the work, acting as a beautifully neutral background for showing up the colours in my stained-glass panel (bought for me as a present by Mr Made it!)
Snow time!
Saturday, 10 December 2011
Make a cushion from two napkins
Warning! If you object to seeing the cushion pad through the gaps between the ribbons, this pattern is not for you!
Take a couple of green* linen** napkins. (Note: ironing the napkins would make for a better photo, but the creases drop out with use.)
Sew together, right sides facing, around three sides. Stuff in cushion pad. Sew on three pairs of red* ribbon lengths along the open side. Tie each pair into a double knot to close cushion.
*colour choices are, of course, up to you
** fabric choices are also, of course, up to you
Take a couple of green* linen** napkins. (Note: ironing the napkins would make for a better photo, but the creases drop out with use.)
Sew together, right sides facing, around three sides. Stuff in cushion pad. Sew on three pairs of red* ribbon lengths along the open side. Tie each pair into a double knot to close cushion.
*colour choices are, of course, up to you
** fabric choices are also, of course, up to you
Thursday, 24 November 2011
Five-minute fashion DIY: turn a scarf into a snood
Snoods are having a stint in the fashion spotlight; they’re e-v-e-r-y-w-h-e-r-e. And with good reason. They’re very cosy, they can double up as headgear (just pull a loop of the snood up over the back of your head), and versatile: wear one in a long loop like a giant necklace, or twist round and round your neck for maximum heat retention. And once your snood is on, it stays put, no constantly flipping the ends back over your shoulder. And you can join in with this trend in five minutes flat.
How to turn a scarf into a snood
All you need is an old scarf, hand-knitted, machine-knitted, crocheted or fabric. To transform your scarf into a snood, all you need to do is to join the ends together to form a loop. If your scarf is knitted or crocheted, you’ll ned some yarn in the same colour (or contrasting colour if you prefer). Remove any tassels or fringing first. With a large-eyed needle, stitch the two ends of the scarf together.
If you don’t have an old scarf you want to use, knit your own super-simple snood: cast on enough stitches for your desired scarf width. Knit until scarf is long enough. Knit entirely in garter stitch, or try knitting and purling alternative rows, for stocking stitch. You can also try ‘knit one, purl one’ for a ribbed effect, or ‘knit two, purl two’ for a more defined rib. Stitch the ends together with the same yarn to form a loop.
Did you know? The word ‘snood’ used to refer to a type of hairnet, worn on the back of the head to hold the hair.
This blog first appeared on Allaboutyou.com, where I used to work. It was a great website, with lots of top-quality craft content, managed by me. Unfortunately, it was closed in January 2015.
SaveSaveSaveSave
How to turn a scarf into a snood
All you need is an old scarf, hand-knitted, machine-knitted, crocheted or fabric. To transform your scarf into a snood, all you need to do is to join the ends together to form a loop. If your scarf is knitted or crocheted, you’ll ned some yarn in the same colour (or contrasting colour if you prefer). Remove any tassels or fringing first. With a large-eyed needle, stitch the two ends of the scarf together.
If you don’t have an old scarf you want to use, knit your own super-simple snood: cast on enough stitches for your desired scarf width. Knit until scarf is long enough. Knit entirely in garter stitch, or try knitting and purling alternative rows, for stocking stitch. You can also try ‘knit one, purl one’ for a ribbed effect, or ‘knit two, purl two’ for a more defined rib. Stitch the ends together with the same yarn to form a loop.
Did you know? The word ‘snood’ used to refer to a type of hairnet, worn on the back of the head to hold the hair.
This blog first appeared on Allaboutyou.com, where I used to work. It was a great website, with lots of top-quality craft content, managed by me. Unfortunately, it was closed in January 2015.
SaveSaveSaveSave
Sunday, 23 October 2011
Colourful contrast; colourful language

I've tried cross-stitch about twice in the past, not too impressively. So this time, I decided to use more strands of the thread. As my design was words, I googled 'cross stitch pattern generator' - there are loads of results. You type in the text you want, choose your font, print and stitch!
I did a little of mine on the train home, getting some curious glances. One woman definitely thinking, 'no, she's not actually sewing the word "fuck", is she?' To which I would say: in the case of clothes moths, the destructive little monsters, it's entirely appropriate!
I love the contrast between the old-fashioned charm of a homemade lavender bag, decorated with 'colourful' language.
The fabric bag is made from offcuts of a skirt I made in the summer. The lavender is from our allotment, augmented with a couple of pieces of cotton wool dripped with lavender oil. I made this one for a friend's birthday, and another has asked for one too. And my other half fancies one for his half of the wardrobe. Lots more cross-stitch on the commute then...
Subscribe to:
Posts (Atom)