Showing posts with label dressmaking. Show all posts

Friday, 8 April 2016

Keep sewing simple: sew-easy dress

I like to sew, but I have no patience.
When I make something to wear, I want to be able to put it on the same afternoon. Given that principle, most of what I make is very simple.
Take the maxi dress on the right. I bought the (cheap) black and white pinstriped jersey fabric by holding the roll against me in the shop to check it was long enough, then wrapping it around me crossways to gauge how much I'd need widthways.
Once I got it home, I folded it in half lengthways, held it against me, put pins in to mark the bottom of the armholes (cutting one in the folded side), then hemmed the armholes, sewed up the one side seam, and hemmed the bottom of the dress.
Next was a tricky bit: making the paper pattern for the front neckline from another top, by slipping a piece of newspaper inside the top, then tracing around the neckline, cutting it out and drawing around that on the dress fabric. Then I hemmed the neckline. The final touch was a narrow band of the jersey fabric to tie around as a belt. I didn't even hem this as I judged it wouldn't fray (and so far it hasn't).
I'm well aware that my workmanship isn't of a high standard, and that jersey is a forgiving fabric, and my friend Carol, who took the pic, would agree that the dress looks better in real life (just as well, I hear you cry).
If you're a fan of simple sewing, you should try this gorgeous bias-cut drawstring skirt pattern. I bought some pretty paisley fabric to make mine as soon as the book landed on my desk.

More about sewing

Sunday, 25 May 2014

Sewing for myself: the Sorbetto top from Colette Patterns

There are, of course, lots of free sewing patterns online, but one of the most popular must be the Sorbetto top from Colette Patterns. It's a simple loose-cut sleeveless top with two pattern pieces, bias binding around the neckline and armholes and a front pleat detail. It's supplied as a 'patchwork PDF' that you stick together to make the pattern. The instructions are easy to follow, the pattern pieces are easy to put together, and it's very quick to make. And here's my finished top.


Saturday, 23 February 2013

Getting around to finishing craft projects...

I've been planning it since last October, I actually started sewing it last November, and I finished it this February: my red velvet skirtain. I'm calling it a skirtain because the fabric is an offcut from the bottom of a cotton velvet curtain from Ikea.
I put the zip in by hand because I haven't (yet) mastered the zipper foot on my machine, then had to unpick the whole of that seam because the two edges of the waistband didn't quite meet. When I say 'didn't quite meet' I mean one side was about two inches above the other. Not quite sure how that happened...maybe because I've worked on it in many little chunks of time? I did contemplate bodging it by folding one side of the waistband down...but then had a word with myself, unpicked it and sewed it up properly. It has a press stud because that's easier than a buttonhole!
I've worn it and I love it...and here it is!

Sunday, 11 November 2012

Treating myself to a craft day

I've got a day off next week, and I'm going to be totally self-indulgent: I'm going to spend the day crocheting, knitting and sewing.
The crochet is a border for my knitted squares blanket. I started this border a few months ago and I reckon I'm halfway there, so I should be able to finish it as it's only about 3cm wide and I'm doing half treble stitch.
The knitting is a simple snood in divine Rowan yarn with a colourway designed by Kaffe Fassett, and it's a Christmas present so it has a built-in deadline!
The sewing is getting on with the two skirts from 'Dressmaking: the complete step-by-step guide'. I've stuck together the printed-out PDFs that make the pattern. Just need to remember to buy a couple of zips this week...

Wednesday, 31 October 2012

Next on my to-make list...

From the book Dressmaking: the complete step-by-step guide, by Alison Smith (Dorling Kindersley, £25), I'll be making two skirts from two pieces of fabric I've had for too long. Click here to buy it for £8.99 from the Book People, saving £16.01.
The book has patterns you can scale up on dressmaker's paper, or you can do what I did, and download the patterns from the DK website. Print them out, and stick them together. Cleverly, the pieces are coded so you know what to stick where.
The first pattern, a classic fitted skirt, is for a beautiful silky green sari-style fabric bought from an offcuts bin in Berwick Street.
And the second, a classic A-line skirt, is for a piece of red velvet cut from the bottom of a curtain from Ikea - waste not, want not!
The curtain is made from cotton velvet and intended to be hung at a window, but ours is hanging across the doorway of our open-plan(ish) kitchen and living room. As it's hanging from a lower-level pole, there was a very big hem to be taken up. And a piece of scarlet velvet big enough to make me a skirt simply cannot be wasted...
I'll let you know how I get on!

Saturday, 27 October 2012

How to take in trousers

While it's very satisfying to make something pretty, it's equally so to do something practical.
I've lost quite a bit of weight over the past year (deliberately). One of the disadvantages - OK, probably the only disadvantage - is that some of the clothes you love no longer fit. But it can be quite simple to adjust them. Take trousers; if they have a centre-back seam you can just rework that.
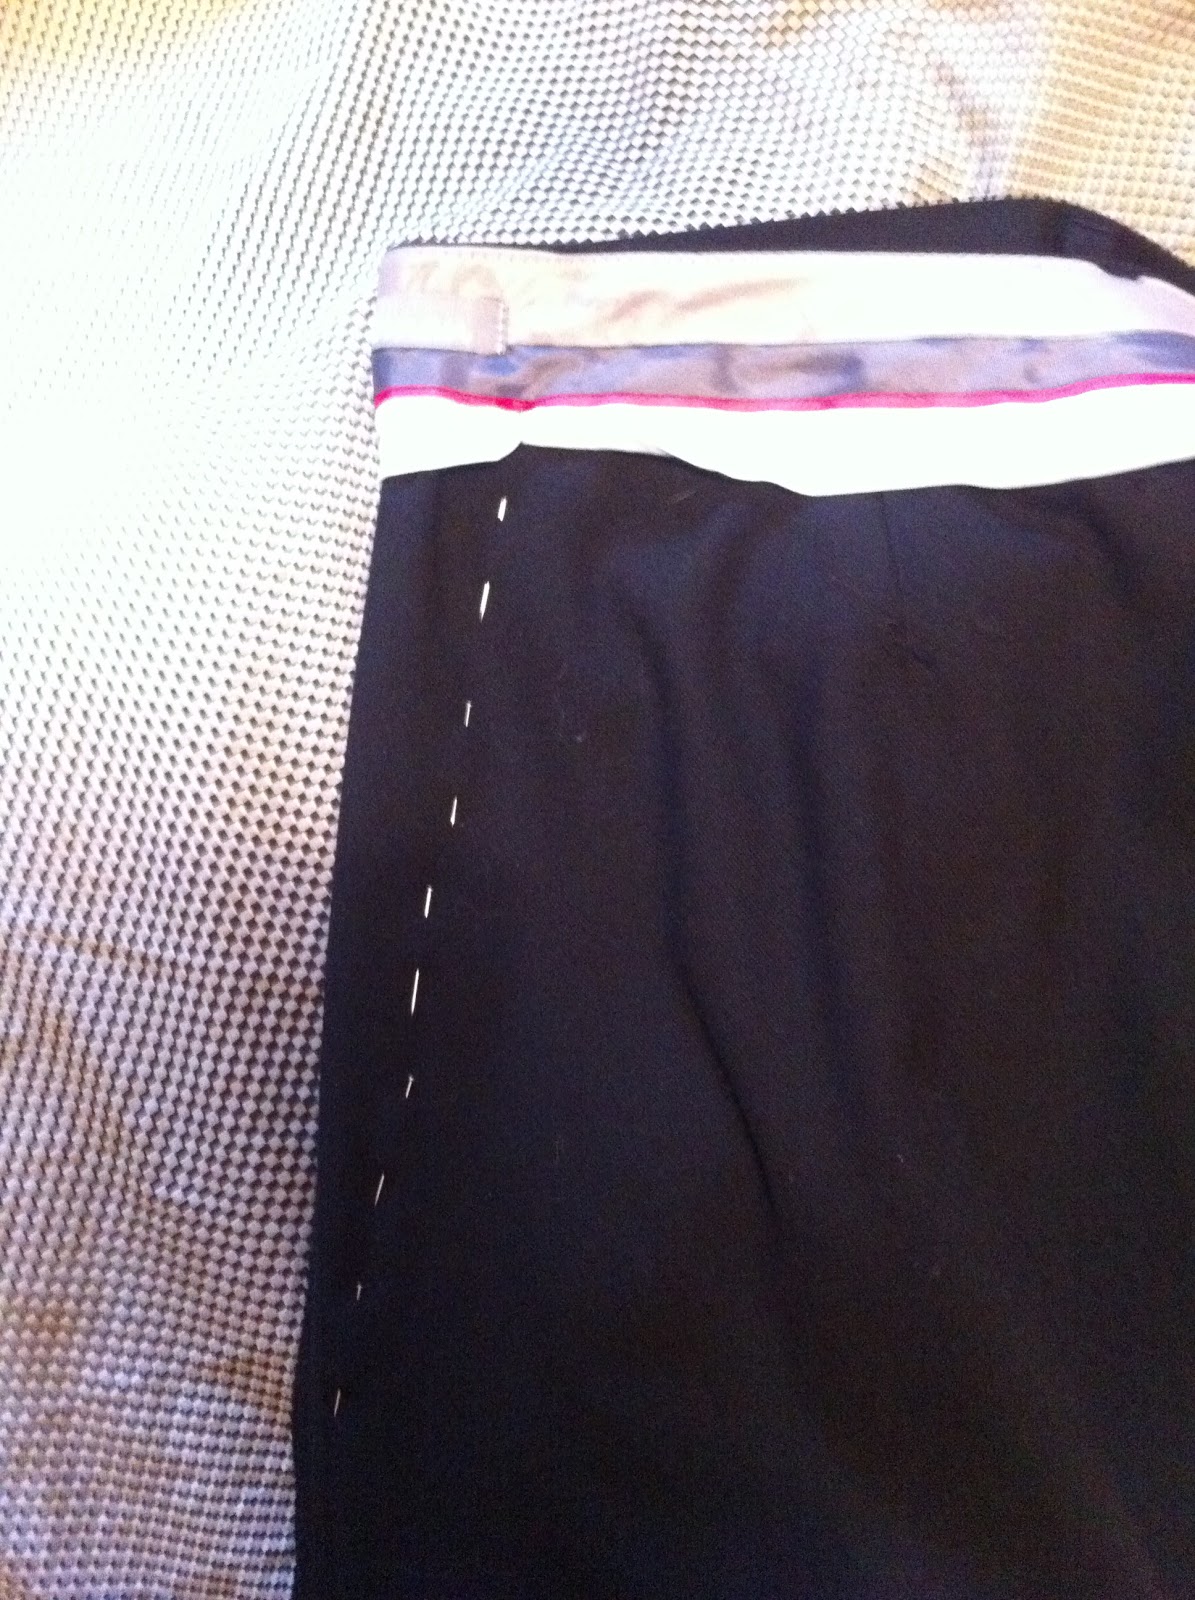
Put your trousers on and pinch in the excess fabric at the centre-back waistband. Pin if you can ( or get someone to help), or just note the difference with your fingers.
Take trousers off and turn inside out. Fold trousers so that centre-back seam is lying flat. Put a pin in to mark the amount the waistband needs to be reduced by, then pin towards the crotch in a line that gradually blends with the original centre-back seam  - see left.
Try your trousers on - carefully! those pins are sharp. If all is well, the waistband will now be a good snug fit and the backside of the trousers will sit smoothly with no obviously excess fabric. If all is not well, remove trousers and adjust line of pins. Try trousers on again. Repeat as necessary.
Tack your pinning line if you want, then machine-sew. I leapt straight to this step without tacking because it's the second time I've done this and I was feeling quite confident.
Cut off excess fabric beyond new seam line. Zigzag-stitch along the cut edge to prevent material fraying. Probably you should zigzag along the edges before sewing the new seam, but this way round worked fine for me.
Put 'new' trousers back on. Enjoy a smug little smile...

Monday, 2 July 2012

Sewing a simple skirt

This pattern is described as the simplest-ever skirt, in the book it appears in: Sewing Made Simple by Tessa Evelegh.
I wouldn't quite go that far; I've sewn some skirts that were simpler: one front piece, one back piece, sew the seams, hem in a piece of elastic at the top... However, it does look far more complicated than it is. It's a bias-cut drawstring-waist skirt. I love the waistband, which is a wide ribbon threaded through with narrower ribbon. In sewing this, I had a little mishap. I pinned the double layer of ribbon around the waist of the skirt, then I machined it... and found that it wasn't quite long enough, although it had been when pinned on. So my 'learning from experience' tip for this pattern is not to cut the end of the ribbon until you've sewn it on. Once you pull the ribbon drawstring though, the gap is closed between the two ends of the waistband piece of ribbon, so my error is not noticeable.