Showing posts with label making jewellery. Show all posts

Thursday, 16 February 2017

Learn to make jewellery

Beads and tools used on the jewellery-making workshop at the London Jewellery School.
I've been making jewellery for years, as my dad is a jewellery designer/maker, but I've seen myself at work and I know I've got plenty to learn, so I was looking forward to my half-day Introduction to Jewellery Making course, using beading and wire techniques, at the London Jewellery School. The school's motto is 'everyone can make jewellery' and, based on my experience, I'd agree with that.

Where's the course held?
Fittingly, the London Jewellery School is just round the corner from London's Hatton Garden, the street at the centre of London's jewellery and diamond trade since mediaeval times. If you've never strolled this street, I'd recommend arriving early for your class and spending a while looking in shop windows, admiring the trays and trays of diamond rings.

Who's on the course?
We were a mixed bunch of women (maximum class size is eight) and our tutor Becky started off by asking us to make a sticky label name-badge, and to introduce ourselves and explain why we're there. Some have never made any jewellery and some have had a go but want to improve, like me. (My stated aim was not to have bits falling off my earrings!) A couple of my fellow students had been given a gift voucher for the class – what a lovely present! – and there was one mother and daughter learning together. The atmosphere of intense concentration was punctuated by bursts of giggles. At the end everyone agreed that the course was a really enjoyable way to spend three hours.

What did we learn?
At each place was a case containing the different pliers and wire cutters that we'd need. In the centre of the large table that we all sat around were lots and lots of boxes of enticing beads. Becky gave clear instructions, and offered support and encouragement, coming round the table to dole out individual assistance where needed.
I was amazed at how much we managed to produce in just three hours. We all went home with three pairs of earrings, two bracelets and a necklace – those are mine in the photo below, minus the necklace.
Along the way we learned basic skills and how to combine them in different ways to achieve different results.
Progressing at a steady pace, we first learned how to judge the length of a headpin for a chosen bead, and how to cut it, how to make a loop, how to open the loop, and how to close it once it's on the earwire.
Jewellery made by Adrienne Wyper on the jewellery-making workshop at the London Jewellery School.
Our first project (left, top, gold colour) was a pair of earrings, made by learning how to cut headpins to size, thread on a bead, form loops with the round-nosed pliers and slip onto ear wires.
We practised our loop-making skills by using short sections of headpin, threading with beads and joining with loops for longer, multiple-bead earrings (left, silvery beads).
Next we used several different-length headpins with groups of beads (left, red and black) – I found it quite tricky to make three loops for each earring and squeeze them all on to the earwire.
An elasticated bead bracelet (left, black, white and grey) was next, with Becky offering more expert advice on how to tuck away the ends of the elastic by threading it through the beads.
Memory wire was our next tool, which 'remembers' its spiral shape so it coils around your wrist. Again, we laid out the beads to check the combination and then threaded them onto a length of memory wire, and finished with a bead at either end (left, green bead bracelet).
To make the necklace, we used tiger tail beading wire, made of several wires covered with nylon. After laying out the beads and attaching one end of the clasp, we threaded the beads on to the tiger tail. A professional knot, small crimp bead to hold the knot in place and tidy tucking in of the ends  was certainly a better option than the unreliable knot I'd have tied left to my own devices.
Since the course I've worn all of the jewellery I made - and even had compliments - and I'm confident that I know how to make more without risking losing my beads!

Find out more
The Introduction to Jewellery Making costs £60 and is held on weekend afternoons from 2-5pm on selected dates between April 29 2017 and November 9 2017. Find details of lots more jewellery-making courses – including online courses – on the London Jewellery School website or call 020 3176 0546. The School is at Rear Ground Floor Studio, New House, 67-68 Hatton Garden, London EC1N 8JY.

Tuesday, 17 January 2017

Trying out the T-shirt yarn

There are several balls of homemade T-shirt yarn in the wicker picnic basket that most of my stash is stored in. I made some a couple of months ago, cutting up an old T-shirt of my partner's and one of mine. One is heavier weight, the other silkier, both are black.

I have knitted with the T-shirt yarn I made with the intention of turning it into a bag, but pulled it all out because there wasn't quite enough of it.

I wrote about how to make T-shirt yarn in my '5 ways to knit without wool' for Prima, which also included carrier-bag yarn, or 'plarn', and string.

You can follow the slightly complex cutting pattern explained in that feature, or you can simply cut your way up the body of a T-shirt in a spiral.

Once you've cut your T-shirt into a thin strip, pull and stretch it in lengths, to encourage the sides of the strip to curl inwards. Wind into a ball.

We're having some building work done on the house soon (yes, more room, more room for crafting) so I've been having a bit of a clear-out. Two pairs of jersey pyjama trousers were destined to be dumped. One pair I turned into T-shirt yarn, by cutting in a spiral up one leg and down the other.

For the other pair I was inspired by a necklace by Etté Studios, so I cut the leg into loops. I stretched and pulled these, then bundled 10 or so together, and bound them round and round at the back with another length of T-shirt yarn.

While fiddling with the loops I realised they have uses in their own right: doubled up, a sports headband to keep hair in place and stop it from flopping into your face when you're running or moving around. Worth doing for this alone! Doubled up, wear a couple as a choker. Use one doubled, trebled or even quadrupled up on itself as a lovely soft hairband for a ponytail or bun. Or double or treble up for a bracelet/sweatband. They do lose elasticity, but you'll have plenty more.

If you can't be bothered to make your own T-shirt yarn (or you don't have any T-shirts you're prepared to cut up), there's lots available to buy, including Jersey be Good, from Wool and the Gang, Zpagetti, from Hoooked or lots of options from the T-shirt Yarn Shop.

One thing I didn't include in my alternative yarns feature was knitting with strawberry lace sweets, not something I've tried personally, but lots of others have. The earliest mention I could find is on the Craftster forums in 2008 by Bexsus of Lewes, and this is her pic of the result!


Tuesday, 25 October 2016

Behind the profile: how to make a ribbon and button brooch

Seven years ago, in October 2009, I joined Twitter. At the time I was working as deputy editor of Allaboutyou.com, in charge of the craft section, bringing hundreds of free knitting, sewing and crochet patterns and craft tutorials to our eager readers. My boss told me to get a Twitter account, and I thought it would be a useful way to connect with our craft fans, so I called it AAYCraftEditor.

Blue and gold ribbon and button brooch, by Adrienne Wyper on her Made it! blog
For my profile pic, I chose the ribbon and button brooch I'd designed, made and written about a couple of months earlier, because it was the first craft feature I wrote on Allaboutyou.com's craft channel.

Seven years on, I've just changed my Twitter username, because Allaboutyou.com no longer exists, and I no longer tweet only about craft.

So I thought it was time I blogged on the brooch that's still my profile pic.

I made it while I was fiddling around with my sewing box and haberdashery supplies, and the two-tone wired ribbon (which I'd previously used to make bag handles, by stitching it on top of the originals) and the buttons just came together in my hand, and I admired how they complemented each other.

How to make a ribbon and button brooch
(as originally published on Allaboutyou.com)


You will need
● length of wired ribbon, measuring around 15cm
● two buttons, one large, one small
● brooch pin
● scrap of felt or other non-fraying fabric
Time taken: around 20 minutes

How to make
Pull the wire out of one side of the ribbon. Now hold one end of the wire on the other side and ease the fabric of the ribbon along it so that it bunches up. Continue until you can bend the ribbon round to make a circle. The hole in the middle should be slightly smaller than your biggest button.
Sew the edges of the ribbon together to form a circle. Cut the felt to a circle slightly smaller than your bigger button. Stitch the felt to the ribbon to cover the hole.
Sew on the bigger button in the centre of the brooch. Sew the smaller button on top. Now sew the brooch pin to the back. (You can use a safety pin if you want; no one's going to see it!)
You could make two overlapping ribbon circles to give a fuller effect.

How about?
Make a felt anemone brooch


Sunday, 15 December 2013

Will they be finished by Christmas?

Currently racing to finish knitting a snood and a scarf for Christmas - they're presents. Last year I was casting off on Christmas morning - not recommended!

I had also started knitting garter-stitch dishcloths but the green string (Conran Shop) was v hard on the hands to work with so they're abandoned.

Somewhat more successful is the jingle-bell jewellery: I've made a few pairs of these earrings (photo courtesy of That's Not My Age) cos they take about a minute each. I also made jingle-bell rings for my friend's two daughters.

Thursday, 9 August 2012

Allez les bleus!

Olympic fever has hit the MI! household: tonight we're off to see the women's basketball semi-final at the North Greenwich Arena. We're not massive basketball fans; in fact, neither of us has seen a game live before. But these are the only tickets we could get via the slightly-less-than-impressive Olympics tickets website.
As it's France v USA, we're obviously supporting our near neighbours. I don't have a French flag to hand so I've created a little tricouleur necklace.
Take one torque neck ring, cut lengths of blue, white and red ribbon. Fold over torque and stitch in place. I think it looks so good I may be doing it again with different colours...

Friday, 22 June 2012

Cute as a button

Having seen how to make a button bracelet, I couldn't resist. I did rummage around in my sewing box to see if I could assemble a beautifully varied, similarly sized collection of buttons, but I couldn't. So I went and bought some: a mix of polka dot and gingham, in red and black. I think it's spot on (sorry).

Thursday, 15 March 2012

Make a felt anemone brooch

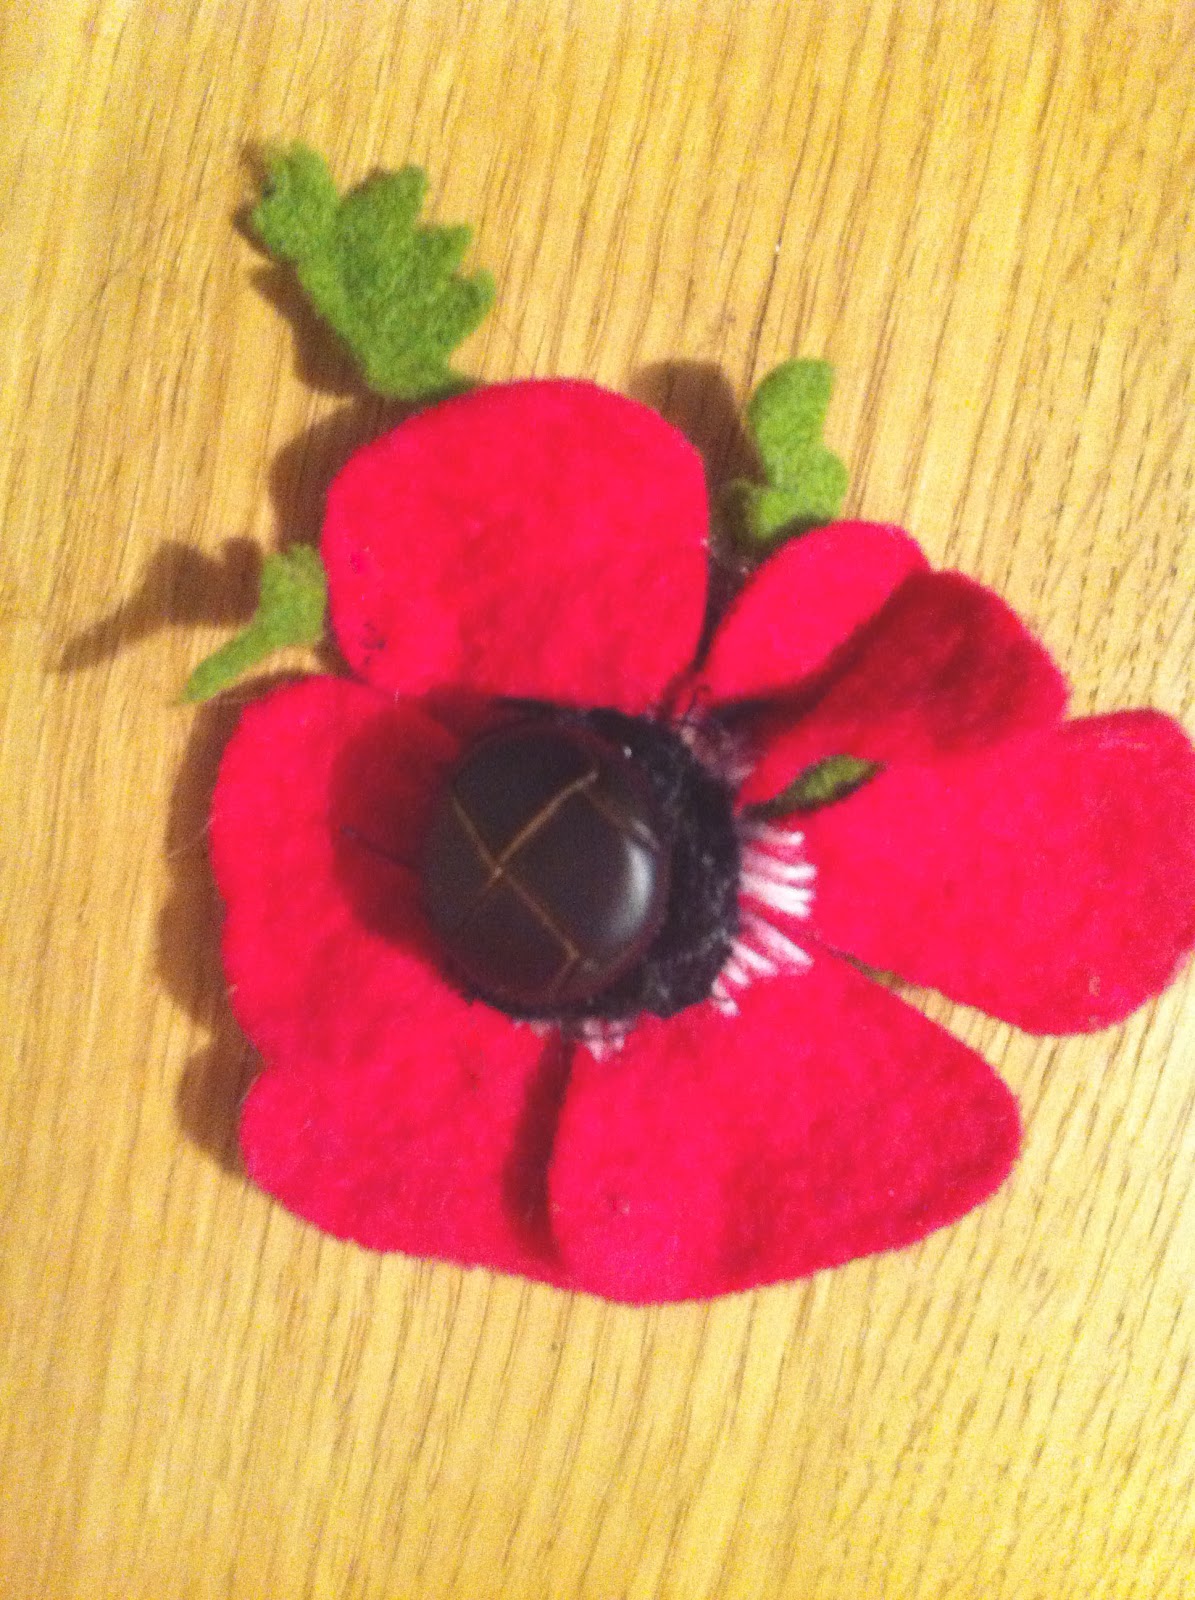
felt flower anemone brooch, made by Adrienne Wyper
Anemones are one of my favourite flowers and, after staring at the couple that have come up in the garden, I was inspired to make this.

How to make a felt flower brooch
Cut petal shapes from red, pink, blue, white or purple felt. Stitch together in the middle, roughly, as your stitches will be covered by the button.
Sew some long white stitches from the centre outwards on each petal to represent the flower's white markings.
I had some fuzzy black trim, which I decided to use for the black anthers in the middle, but you could leave this out, or substitute black felt. If you're using it, sew it on.
Sew on a black or dark brown button.
Cut some crinkly-edged leaf shapes from green felt, and stitch to back of flower. Sew on a brooch pin.
Wear!